How To Properly Remove MS-995 Coiled Pipe Markers
Tips & Tricks to Properly Remove
We know removal and adjustment of pipe markers can be time consuming and difficult. When done incorrectly it can lead to wasted time and money. When correctly removed, our MS-995 Coiled Pipe Markers can be used again and again. They have excellent water and chemical resistance, indoor and outdoor capabilities, and are built to last. This is why proper removal techniques are crucial to ensure longevity of your markers.
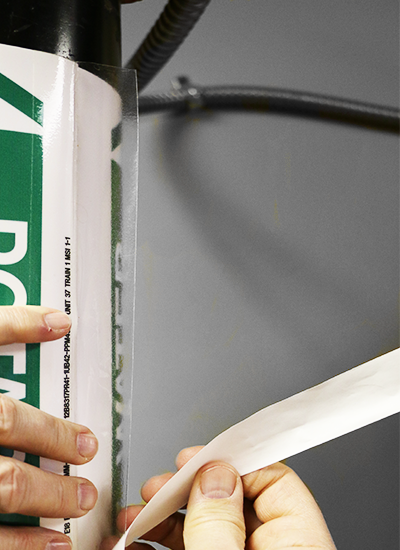
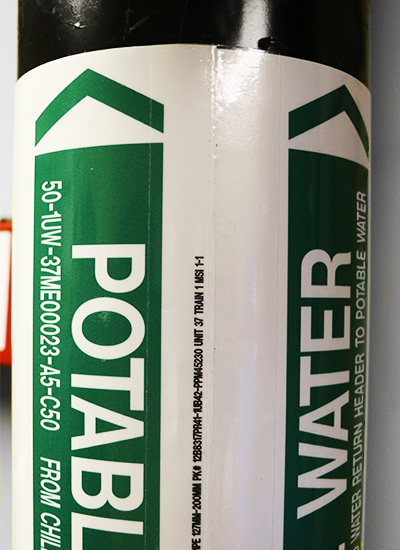
Our MS-995 Coiled Pipe Markers are designed to wrap entirely around the circumference of a pipe and seal to themselves (not the pipe surface). Notice on one end of the installed marker is an adhesive sealing strip; it looks like a clear piece of tape about 1” wide (See images below).
- To start the removal process, make sure you have a razor/utility knife. Locate the clear adhesive sealing strip that is currently keeping the marker together and in place.
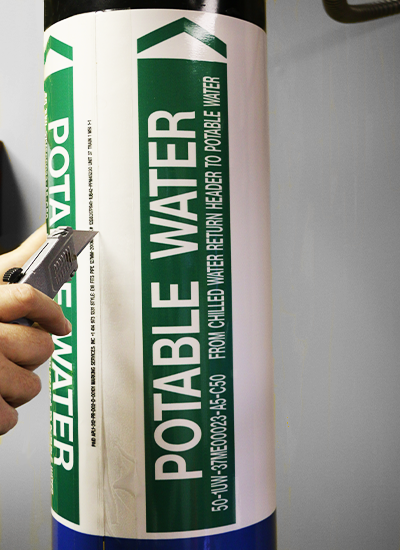
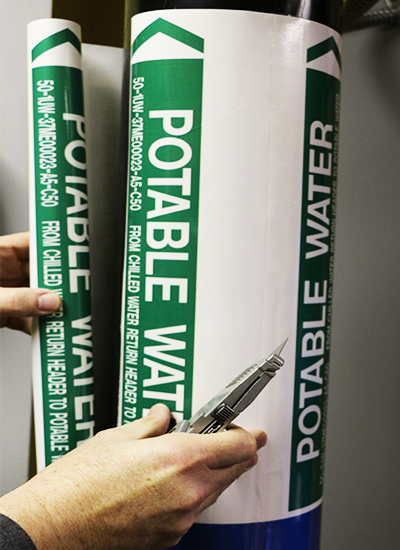
- With your razor/utility knife cut straight down through the length of the sealing strip, separating the adhesive sealing strip from the outer edge of the marker. Make sure when cutting through the adhesive sealing strip you are only cutting through the strip and not the marker itself.
To reuse the marker, make sure you order more adhesive sealing strips which can be re-applied and removed again and again. Our markers are built to last, and by using proper removal techniques, you can utilize what your markers are built to do.
Need assistance with installation? Check out our tip sheets or contact us today!
Removal Steps Media Gallery